
These minis are usually for high speed Fpv flying and racing. This one will be different. My goal is to have a fun flyer that is fast and agile, when I want it to be, but still able to carry a GoPro on a gimbal and get nice, clean, steady video not sure if that’s possible but I’m going to try.
This frame is constantly out of stock so when I saw one available I jumped on it. I then wanted to get some spare arms. The online chat agent told me they don’t sell spare arms from the kit, but had a upgrade kit with longer arms for 6″ props. This would make it a 360 sized hex. The agent went looking for a sample to measure and get the price for me. They are $16 a set, unfortunately they were out of stock and I have still not been able to purchase them yet.
Frame size:
Standard Size: 300
Hybrid Size: 350 (uses short arms in the front)
Extended Size: 360 (uses longer arms all around)
Weights
(Complete with all hardware and top Mobius mount)
Extended 360: 246g
Hybrid 350 frame: 242g
Standard size: 236g
Components
Long Arm (each): 13g
Standard Arm (each): 11g
Configuration Notes:
Hybrid Configuration (short arms up front, long arms middle and rear)
It is possible to mix the short and long arms on the same kit. The front arms can be the short ones and the middle and rear the long. The distance between the motors can be equal. It only requires some attention when securing the arms to the frame. There is about 10 degrees of motion on each arm.
One note on this setup: the front props will be very close to the front frame standoff when using 6″ props.
Critiques:
-the mounting holes for the standoffs on the top plate are very close to the edge of the plate. It would be stronger and allow for more hardware options if this plate were 2mm larger on each side.
-NO 30.5mm mounting holes!! They have two sets of holes. One set is the standard for larger (45mm) FC/PDB. The other is smaller but too small for the 30.5 spacing found on most FC’s. What I did was mount my PDB then printed out an adapter I found on Thingiverse
-the cut out on the arms makes it possible to damage your motor in a crash
-hardware is a little on the cheap side and the pan head screws for the top and bottom plate in my kit were to short so I exchanged these with M3x6 Nylon Screws hopefully they will hold up in a crash.
Kudos:
-cost of this frame is very affordable and is good quality.
–all carbon! I tested with my multimeter.
I have some nice build pics and will upload the maiden flight to my YouTube channel once I finish this build as well as the PID I used.
I’ll be linking to vendors that you can buy the items I used in my build so you can buy them if you like for your own build.
Hex Build Specs:
> Quad Frame: Foxtech Grasshopper 300 Hex
> Flight Controller: Flip32 +
> Motors: DYS BE1806 2300KV Brushless Motor Black Edition for Multicopters
> ESC’s: Favourite 12A 2S-4S ESC With BLHELI for RC Multicopters
> Props: RCX EPP 5×3 and 5X4
> Batteries: not sure yet probably Turnigy nano-tech 3300mah 3S 35~70C Lipo Pack
Controller Set up:
> Flight Receiver: FrSky D4R-II
> Flight Controller: Frsky Taranis
> TX Module: Built in
FPV Set up:
> FPV Camera: 600TVL Sony PZ0420 SUPER HAD CCD Color Board Camera w 2.1mm Lens
> Video Recording: Mobius action camera.
> Video TX: Skyzone TS5823 200mw 5.8ghz 32 channels
> Video RX: Skyzone FPV Goggles 5.8GHz Dual Diversity 32CH Receiver With Head-Tracker
> Antennas: Circular Polarized Antennas
> OSD: MinimOSD flashed with MW-OSD R1.3
Maiden Flight
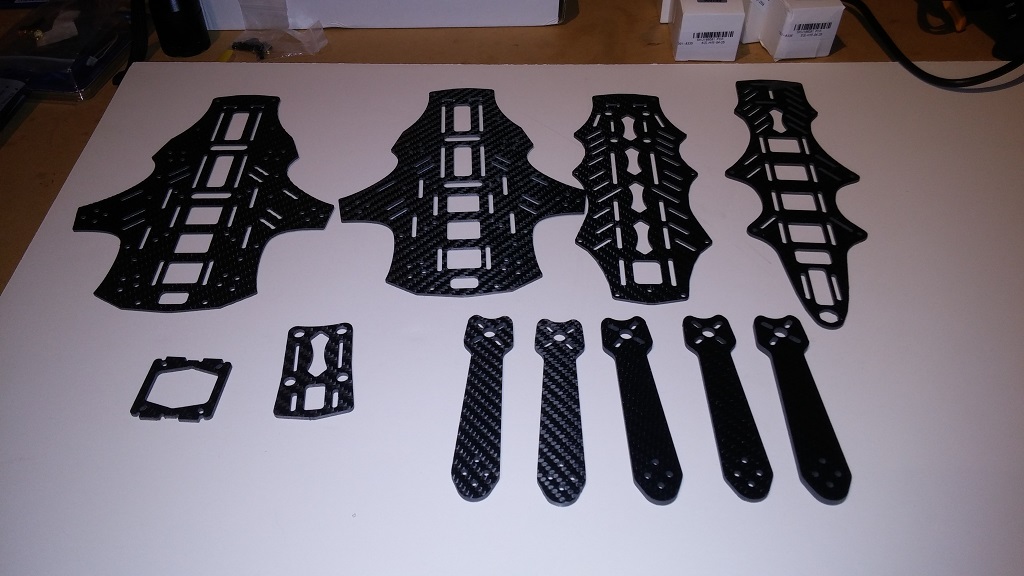
Frame Parts
Hardware

Electronics

Bottom Frame
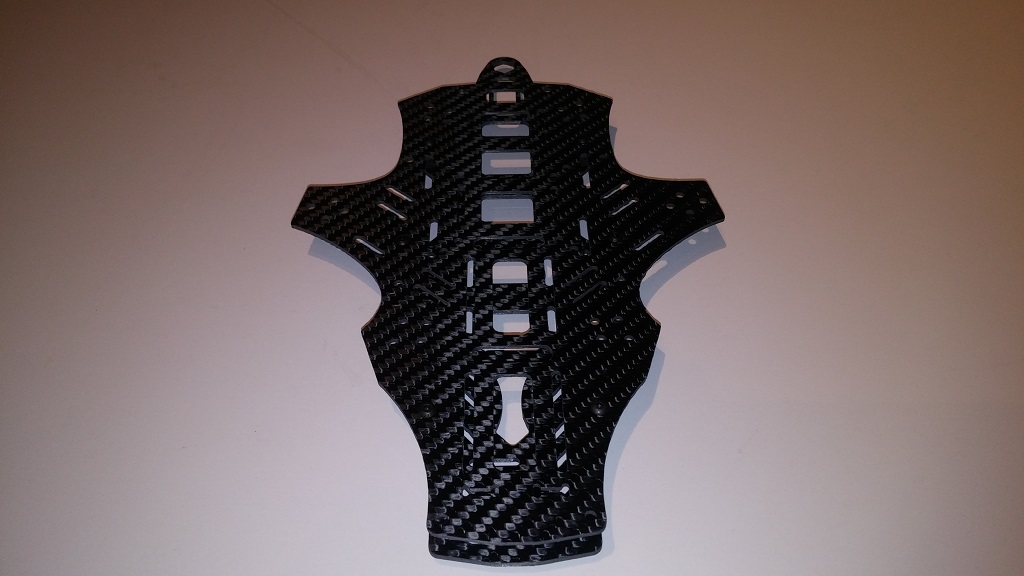
Top Frame

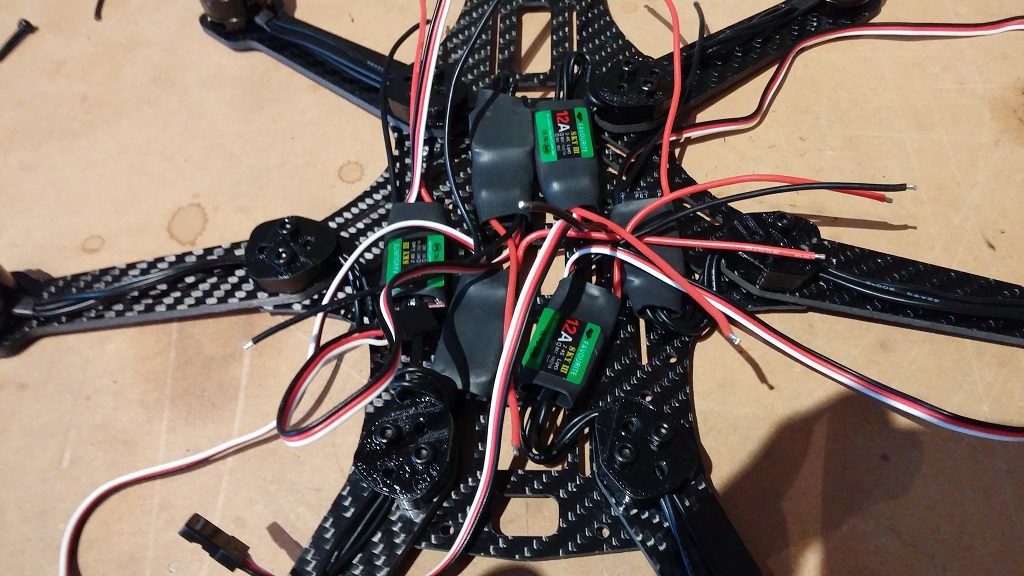
Esc Placement
Top Frame

Finished Wiring
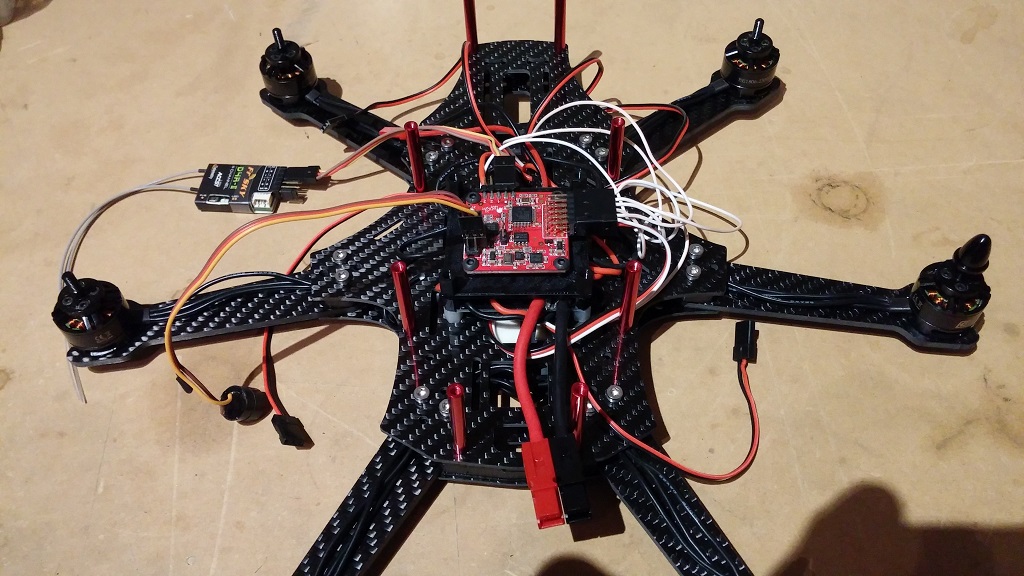
Completed


I’ve switched to using CleanFlight I prefer the way it flies over Baseflight
Some of my Initial setup commands and settings.
feature vbat (only if you us a buzzer for voltage alarm)
feature motor_stop (I don’t like motor spinning after arming, so I enable it)
set looptime = 2500 (~400Hz)
set acc_lpf_factor = 100
set feature ppm (only if you use ppm receiver, 1 servo lead)
set align_board_yaw = 90 (only if board is rotated to the right for easier USB cable reach on mini quads)
set deadband= 3
set yaw_deadband = 3
set auto_disarm_delay = 10
set pid_controller = 2
Boris B Custom mix for Mini Spider Hex
cmix 1 1 -0.39 1.0 0.87
cmix 2 1 -0.61 -0.81 0.85
cmix 3 1 0.39 1.0 -0.87
cmix 4 1 0.61 -0.81 -0.85
cmix 5 1 -1.0 -0.0 -1.0
cmix 6 1 1.0 0.0 1.0
OSD Settings for Multiwii OSD NG
set serial_port_1_scenario = 5
set serial_port_2_scenario = 2
feature RSSI_ADC
Don’t forget to save or your changes will be lost!!!!
My Pids & Rates: CleanFlight + PID Controller = 2
Roll …….1.5 / 0.040 / 16
PITCH …2.2 / 0.048 / 18
YAW .…..6.5 / 0.045 / 1
ROLL/PITCH RATE 0.30
YAW RATE ……….0.40
TPA ……………… 0.00
LOOPTIME ………2500
RCRATE……1.0
RCEXPO ……0.60
That’s all my personal preference, change it according to your liking.
Calibrate ESC
TAKE YOUR PROPELLERS OFF while working with the Hexacopter.
You’ve been warned!!!
Open Cleanflight Configuator and select the motor testing tab then select the box next to the master slider to allow motor control.
Raise the slider to the top before plugging in your lipo. Plug in your lipo and wait for the calibration tones once you hear these lower the master slider all the way. You should hear the calibration finished tones.
Check if the calibration is successful by checking if each motor spins to the same input. (Remember do not mount your props when doing the testing.)